I’ve always wanted to make mechanical hangar for my models and kits. The purpose of this hangar would be used as a background for photo shoot as well as the quick diorama base (i.e. repairing or maintenance scene).
Finally, watching the movie "Transformer: Dark of the Moon" inspired me to get on with it.

Logistics
1. Kotobukiya Model Support Goods (MSG) Mechanical Chain Base #4 x 4
http://www.hlj.com/product/KBYMB-13
2. Kotobukiya Model Support Goods (MSG) Mechanical Chain Base #9 x 4
http://www.hlj.com/product/KBYMB-18
3. Epoxy
4. LED Flash light (I used the one can came with 21 LEDs).
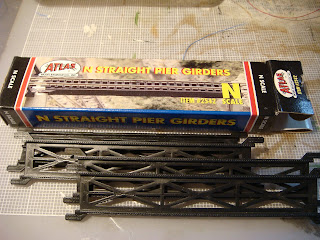
5. N scale straight pier girders (Local model train store).
6. Computer IC sockets (old cell phone or used ‘and broken’ computers).
Procedures
1. I used 4 mechanical chain base #9 to form the back wall and 4 mechanical chain base #4 to form the sides (two on each side).
2. Next, I took apart the LED flash light (*quick background story… I bought this LED flash light from a local yard sale. It was suppose to be water proof; owever, the O-rings were broken and it was no longer functional. I saw it as potentially usable 21 LEDs for less than $2. Not only LEDs were fine, I was able to reuse the battery compartment, and switch. Normally, 21 bright LEDs, battery compartment and the switch can be expensive.... Lesson learned folks: Don’t always buy “new stuff that are specifically designed for model kits” take a look around and there are plenty of reusable things for your models). I took out all LED lights from its circuit and cut them in sets of 3, 2, and 1. It is important to save the circuit board because it will save your work to having to solder them again later.


3. Next, I soldered the wires on to the LEDs and arranged/scured them using epoxy as shown below. I’ve used four, 3 set LEDs on the back row and just two, 2 set LEDs on the front row to create the back-light effect.


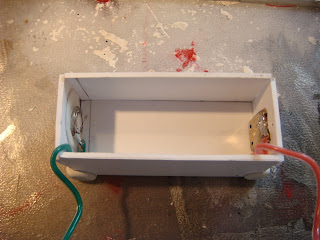
4. Next, I built a battery holder to fit my flash light battery compartment using some plastic sheets. I’ve attached old IC sockets at the end of the wires to be served as the plug for easy battery and switch installations.


No comments:
Post a Comment