New adventure!
I wanted to venture out to realm of awesomeness other than Gundam. So I decided to do a repaint of a transformer (TF) figures. I own decent size TF figures collections. I am not interested in old school ‘boxy’ G1 series (sorry) but very much into the movies series figures. I love their ‘mechanical’ appearances which, reminds me of Gundam like mechas (Macross, Armored Core, and Patlabor to name a few).
Now, for this project (well just a repaint), choosing the TF figure to repaint took the longest time. Once selected, the entire repaint was done in about 3 days (equal to about 8 hours of total airbrushing/dry brushing/weathering). So who the lucky winner?
I picked Voyager Class Banzaitron from “The Hunt for the Decepticon” release.
Tips on TF figure repaint
For those who are also thinking about repainting TF figures, I’ll make following recommendations:
1. Choose a figure that has the ugliest factory paint scheme - If the color scheme of the retail figure is bad, any improvement on the color scheme will look awesome!
2. Choose a figure that you can support logistically – for this project, I spend about $36 just on the painting supplies. TF figures takes a lot more paint than Gundam (I’ll explain why later) due to its “playability” nature.
3. Choose a figure that is easy (easier) to paint (and “modify” for that matter). Some TF figures are put together in a manner that will not allow you to paint or modify (MOD) without heavy reconstruction and/or rebuilding. Keep in mind that overall goal (for me at least) is that one should be able to play with the figure once it is completed. What fun is TF figure if it is so fragile after such repaint and/or reconstruction that it becomes “display only figure” and sits on a shelf somewhere?
4. Study the figure! Have a good idea what color scheme you want (draw it on a paper) and how it is put together from manufacturer (like the locations of pins and joints) and most importantly, how it transforms (note the area that will scratch and/or rub against each other). This way, you will know all the areas that need to address/paint so you have a figure that looks great both in robot and vehicle mode.
5. I find that unlike Gundam models, TF figures needed to be painted at least three times in three different poses/modes (Hence the high cost for paints). For this project, I painted it in the vehicle mode on the first day, robot mode the next day and finally in between mode (partially transformed) on the third day.
6. Finally, protect the paint job by applying good amount of TOP coats. I gave mine three layers each time it was dried (that is three coats per vehicle mode, robot mode, and in-between mode). When it was done, the paint job seemed to stay firm and won’t rub off (unless I use modeling knife to scrape it off of course. Normal play and transformation doesn’t seem to peel the paint job)
So at the end of the day, Hunt for the Decepticon Voyager Class Banzaitron fit the description perfectly. It has ugly factory color scheme, easy (easier than most) to paint, transformation is designed to have three distinctive modes, small enough not to use too much money on supplies, and most importantly, it is just fun to play with after it is completed.
Here are some before shot (from the Hasbro website) of figure.


Logistics
1. Voyager Class Banzaitron = $20 from wal-mart (You can get better deal from Toys R Us or other internet shops, $20 is most common price you’ll find from local retail stores).
2. Mr Color Metal Color – Stainless = $3.99
3. Mr. Color 70 - Dark Green (Flat/Tank) = $3.99
4. Mr. Color 39 - Dark Yellow (Sandy Yellow) (Flat/Tank) = $2.99
5. Mr. Color 41 - Red Brown (Flat/Tank) = $2.99
6. Mr. Color 185 - Super Flat Black (Flat/Primary) = $2.99
7. Mr Surfacer Spray 1000 = $7.99
8. Mr Color Thinner - 250ml - $10.99
9. And of course airbrush regular brush and other paint supplies.
WIP note and finished photos
Again, I can’t emphasize enough about the importance of pre-planning, multiple layer painting and attention to detail. All these will have great payoff once your model is done!
WIP Note:
1. I gave two coats of Mr. Surfacer 1000 in vehicle mode, robot mode, and in-between mode (as mentioned before, all painting scheme was done in all three modes and in 2-3 coats) to cover the entire ugly factory color scheme.
2. Next, 2-3 coats of Mr. Color 70 (Dark Green) for the base color.
3. Next, first patterns for the camouflage was added using Mr. Color 39 (Dark Yellow).
4. Next, Mr. Color 41 (Red Brown) was used to trace the camouflage pattern.
5. Next, Mr. Color 185 (Super flat black) was used to give some obvious black lines. One thing to note about making your own camouflage pattern is that good camouflage must have both subtle changes and obvious highlights. The main point is to break the silhouette of the object you want to camouflage (in this case,.. Tank) while giving something that sticks out (black highlights) to distract one from finding the original object against the background (again, in this case… a Tank!).
6. Using dry brush technique, use Mr. Color Metal (Stainless) to give the dull, exposed metal highlights.
7. Next, I hand brushed the details (small parts, tool mold on the surface, and the face of robot).
8. I used some weathering technique used for the Arctic Warfare Zaku to weather the figure.
9. Finally, 2-3 coats of Mr. Topcoats to seal the paints.
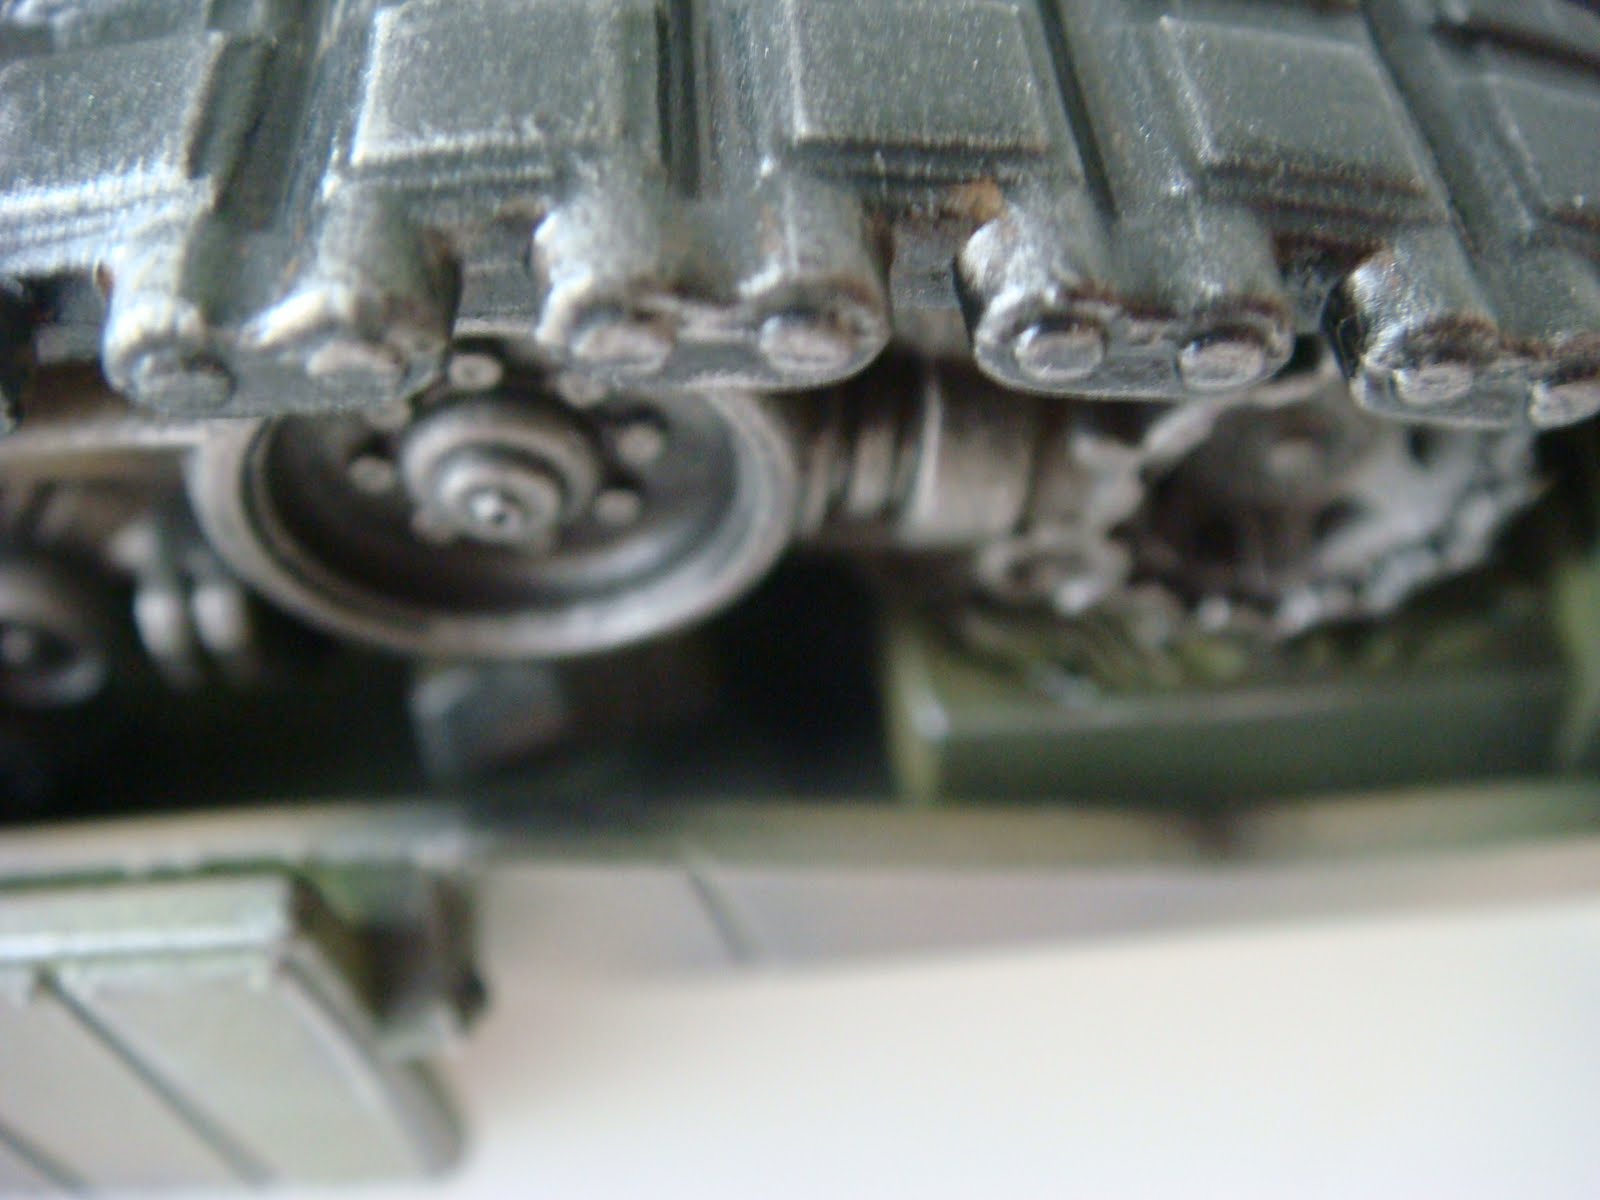
Here, we have some photos for the vehicle mode


Detail shots for the vehicle mode


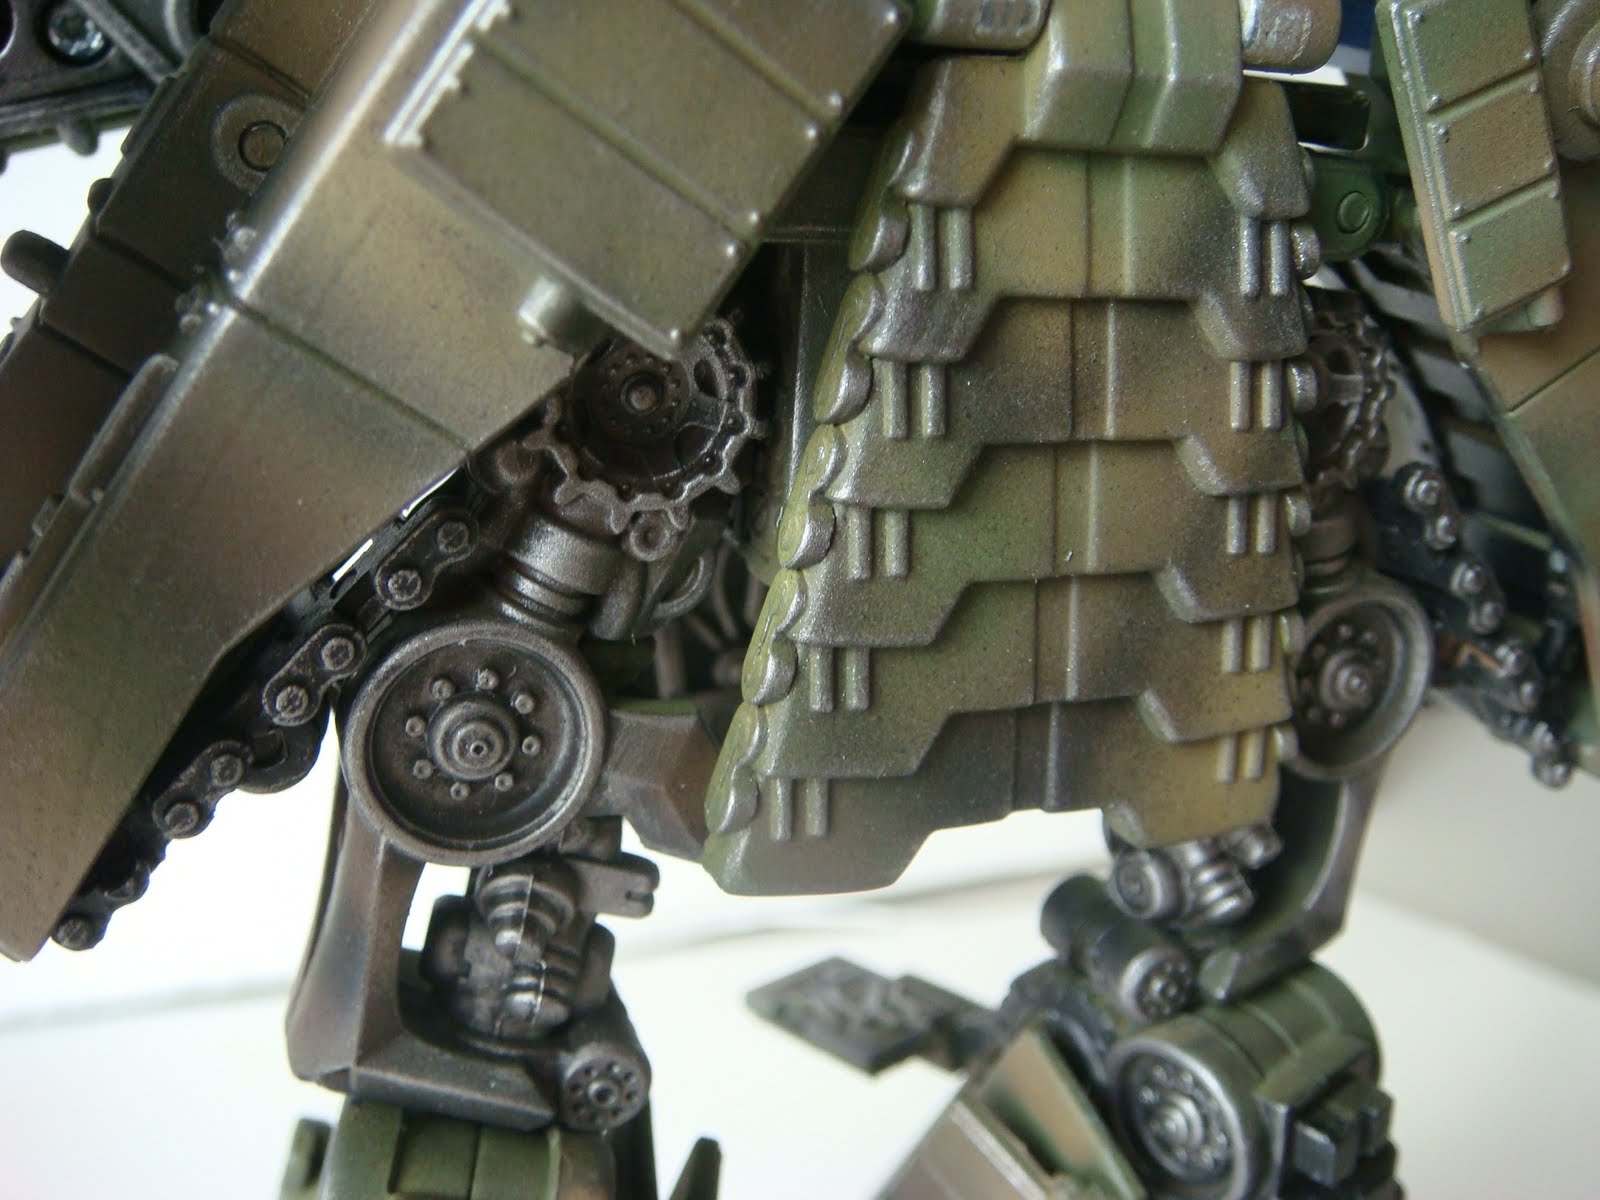
Here, we have some photos for the robot mode


Detail shots for the robot mode


I’ll finish with some action pose~


Thanks for reading!
Zebu
No comments:
Post a Comment